Basic Rules to Dairy and Cheese Making
Build Your Skills and Knowledge in Some of the Basics of Dairy and Cheese Making
Do you know what curds and whey are? Does it sound appetizing?
Have you ever eaten it?
Chances are you have. Probably with pineapple.
“Curds and whey” is the old-fashioned name for cottage cheese.
Cheese is nutritious and tasty, and makes a great ingredient for a variety of dishes. It’s one of the most prominent staples in the American diet. Yet, how many people know a simple cheese recipe?
In a time of growing inflation and shrinking stock in the supermarkets, why not make cheese yourself?
A gallon of milk, white distilled vinegar, and some creative culinary skills is all you need to make a variety of dairy products.
A great place to start in crafting dairy products is getting familiar with the different TYPES of milk. There are four basic kinds; raw, pasteurized, ultra-pasteurized, and homogenized. Learning how they are different and the length of time/temperature range to preserve freshness is critical. Below is an outline of some basic rules to follow when preparing your own dairy foods, especially for cheese.
Types of milk:
Raw: This kind of milk is straight forward…milk in its most natural state. Typically the milk and cream will separate, where the cream will accumulate to the top.
The benefit of raw milk is it’s full of nutrients, being its most natural state. Some people are concerned about raw milk because it may have bacteria, and the shortest shelf life. Others prefer raw milk, having consumed it for years with no issues. Raw milk is often considered the ideal type of milk for cheese making.
Pasteurized: Milk heated at temperatures of about 145 °F for 30 minutes or, heated to a higher temperature of 162 °F for 15 seconds1. The most common pasteurization process in the United States is heating the milk in steel plates until it reaches 161° F, held at that temperature for at least 15 seconds, then quickly cooled back to its original temperature of 39° F2.
Pasteurized milk has less bacteria and a longer shelf life, however it lacks the same amount of nutrients when compared to raw milk. Pasteurized often works for cheese making, while some will recommend using raw over pasteurized whenever possible.
Ultra-pasteurized: Milk is heated to 280 °F for at least two seconds3. The process is also known as “Ultra-High Temperature4”.
Ultra-pasteurized milk has the longest shelf life, however it loses most of its nutrients and is not a good option for making certain dairy items because it will never separate into curds and whey.
Homogenized: The fat level is reduced to make the milk a smooth, even consistency.
NOTE: Once milk has been homogenized, cream cannot be separated from the milk5.
Coagulants for cheese:
There are different options for creating curds and whey when making your cheese product. Citric acid and rennet (a substance used to break the solid particles in milk away from the water content in order to form a solid mass) are the most common ingredients for creating curds and whey. For those who prefer an alternative to these ingredients, white vinegar or lemon juice are often used in many recipes as well.
Rennet will produce sweet whey; whereas lemon juice, white vinegar, and citric acid will produce acidic whey67. Both types of whey have their own purpose.
Below are some simple soft cheese recipes to get you started.
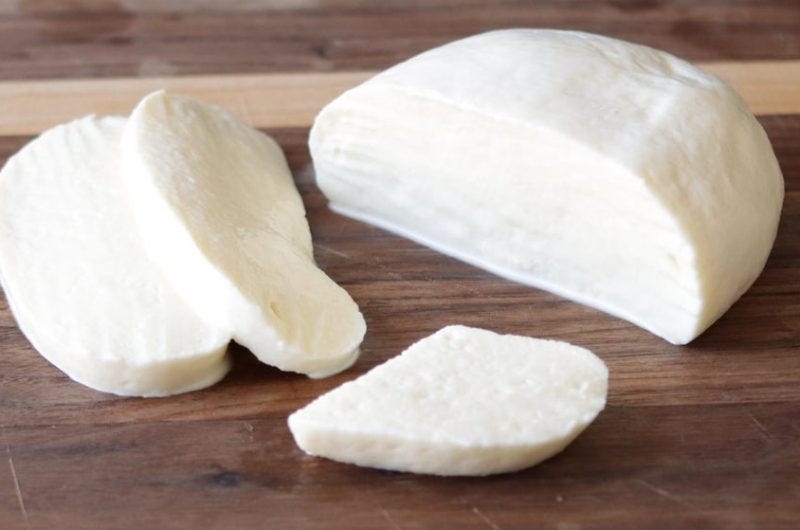
Mozzarella cheese (semi-soft cheese):
https://www.inthekitchenwithmatt.com/homemade-mozzarella-cheese (vinegar)
https://culturesforhealth.com/blogs/recipes/cheese-recipe-30-minute-mozzarella-cheese (Rennet and citric acid)
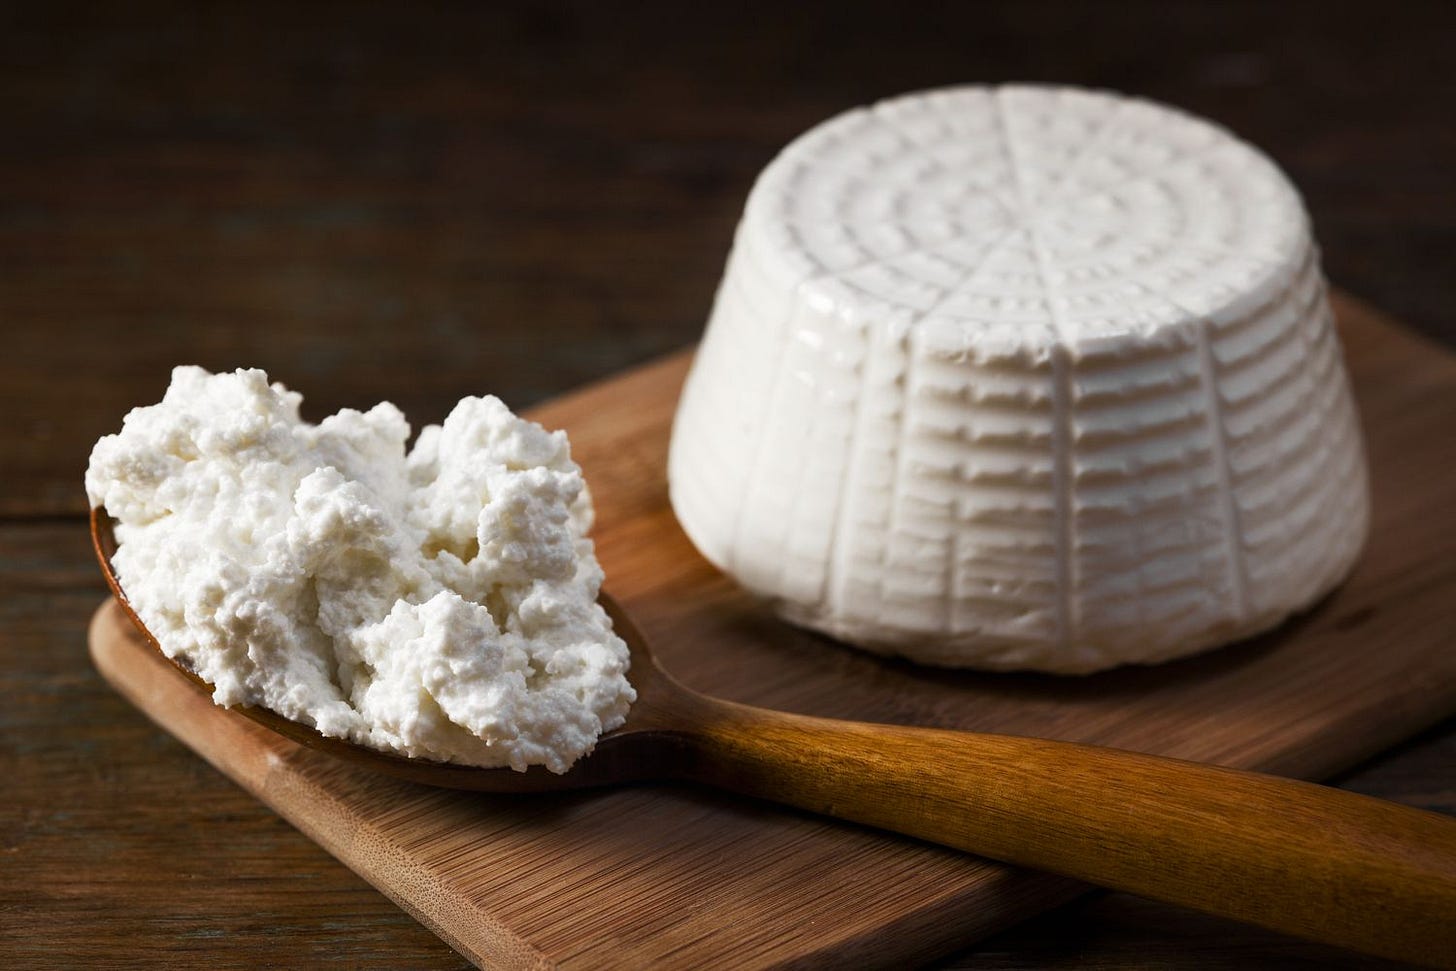
Ricotta cheese:
https://homesteadersofamerica.com/ricotta-cheese-recipe/ (3 recipes: lemon juice and vinegar; citric acid, no rennet)
Cream cheese:
https://nourishedkitchen.com/how-to-make-cream-cheese/ (rennet)
https://www.alphafoodie.com/super-easy-homemade-cream-cheese/ (lemon juice)
https://www.food.com/recipe/homemade-cream-cheese-13373 (white vinegar)
Make use of whey:
Last but not least, don’t throw that leftover whey out! There are creative ways to use that whey, other than donating it all to the garbage disposal.
For certain uses, such as watering plants, do not add salt until you’ve separated the curds out of the whey. Do not return the cheese to the whey once it has been salted.
https://www.thespruceeats.com/many-uses-for-whey-1327494
https://morningchores.com/uses-for-whey/
https://www.hunker.com/13428055/how-to-use-whey-for-watering-plants
https://www.gardenguides.com/107407-use-whey-watering-plants.html
https://blog.cheesemaking.com/using-that-leftover-whey/
Making your own food is therapeutic, and empowering to know you don't always need to rely on supermarkets to supply every type of food to you. The old rule still applies: you get more at a cheaper price when you make your own food at home.
I hope you enjoyed the first part of my “milk and honey” series. Happy cheese making!
https://blog.cheesemaking.com/using-that-leftover-whey/


